The ongoing Coronavirus pandemic is impacting every part of our lives. Besides, it has wide-ranging ramifications for marketing, advertising and eCommerce as well as several other sectors like travel, entertainment and FMCG. As opposed to, the pandemic has defined a new category of goods called “new essentials.” New essentials are products that help consumers feel
In the last blog, we installed our first Laravel application on our local machine and served it using php artisan serve. But we didn’t connect any database or anything. So today we are going to do that. Instead of serving our Laravel application with php artisan serve command on local machine, we are going to serve our application using Vagrant a virtual machine that take cares of all the dependencies for your application. I don’t want to go in the details of what the Homestead or virtual machine or vagrant is. You can simply just google about them or visit Laravel official documentation for that. So without farther a due let’s get started- “Installing Homestead”.
Installation Process
As we are going to install a virtual machine first, you need to enable virtualization from your local PC BIOS settings. After that download any virtualization software that you prefer. In my case, I used Virtual box. So just go to their website download the one which suits your PC configuration and install. After installing Virtual box, you need to install vagrant for your PC. To do that visit https://www.vagrantup.com/downloads.html . After that download the one which suits your PC configuration. As I am Ubuntu user, I downloaded the Debian package.
Adding Laravel/Homestead box to vagrant installation
Now, we need to add Laravel/homestead box to our vagrant installation. So to do that open up your terminal type in this command vagrant box add Laravel/homestead and hit enter. After that type in 3, if you are using virtual box and press enter. Depending on your internet speed, it may take 30-45 minutes to download.
If you are following correctly till now, you are ready to install Homestead.
So just copy git clone https://github.com/laravel/homestead.git ~/Homestead this git command and clone this repository by typing in this line in terminal. After cloning this repository cd into this directory from your terminal by cd Homestead. After that inside Homestead directory on your terminal, enter bash init.sh ( for Ubuntu/Linux/Mac) or init.bat (For windows) .
Connecting Our Application with Homestead
Now all the installations steps are done. Finally we are ready to serve our application. But first let’s make some necessary changes to connect our application with Homestead. So go to your homestead directory on your PC from file explorer or any GUI application.
Open Homestead.yaml file in any text editor.
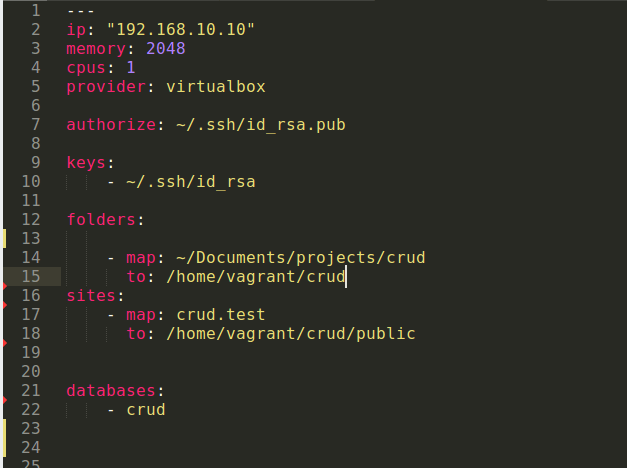
Homestead.yaml
In this file on the folders section
-map: ( Type the directory of your project folder)
to:( location of your application in vagrant virtual machine)
Sites section: -map: (any domain you want for your application except .com domain for instance for my crud app I used crud.test)
to: (location of the index.php file which is in public folder of your project) we need to map inside the public folder inside vagrant.
databases: just type the database name you prefer for your application. I used crud for my project. After doing all of that save the file and open your hosts file.
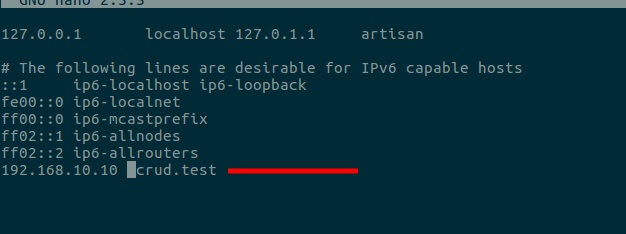
For ubuntu open your terminal cd into etc folder ,
cd /etc .
Open hosts file by sudo nano hosts in your terminal from etc directory. And, add the domain name, you added in Homestead.yaml crud.test . After that press ctrx+x to exit and Y to save and hit enter to save the modified hosts file.
Fire Up Vagrant to Serve Our Application
We are almost done for now. Time to fire up vagrant and serve our application. So go to your terminal, cd into Homestead folder type and enter vagrant up to fire up vagrant/our virtual machine.
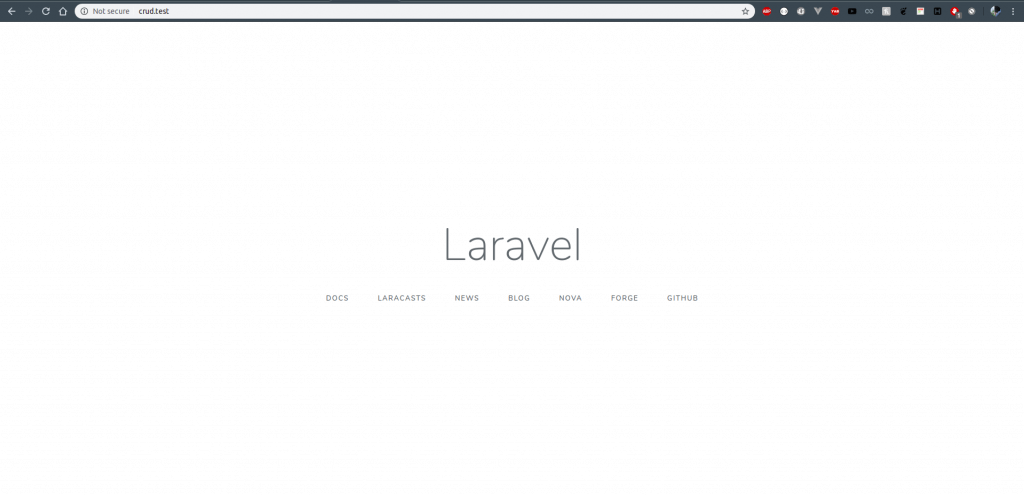
Now our application should be running on localhost on this domain crud.test. Just verify that by opening your browser and visiting this address crud.test
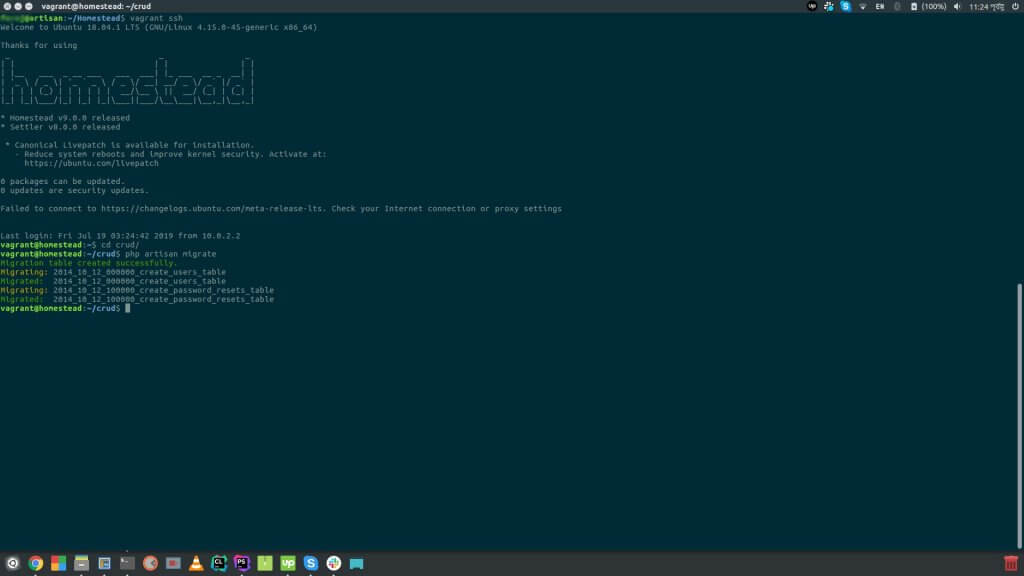
Now let’s connect our database with our application and check if everything is working perfectly as should. So to do that first lets use php artisan make:auth command to create Laravel default authentication/login system. To do that ssh into your vagrant machine from terminal. cd Homestead -> vagrant ssh -> cd crud . Now if you are inside crud project folder inside vagrant, run auth command and create default authentication method.
Now open your project folder. Copy .env.example file to .env and open the .env file.
For DB_Database = your database name for this project DB_USERNAME = homestead
DB_PASSWORD = secret.
And, everything is done. Now run php artisan migrate to migrate your database columns to your database you created from your virtual machine.
And, everything is done. You might be wondering why going through all of these hassle. Well, at first to make our project encapsulated from OS dependencies to easily manage project. Also connecting to individual databases for individual application and many more. We are done for today. In the next tutorial, we will learn about Model, Controllers, route view and all of the fun stuffs.
Want to receive a fortnightly round up of the latest tech updates? Subscribe to our free newsletter. No spam, just insightful content covering design, development, AI and much more.